
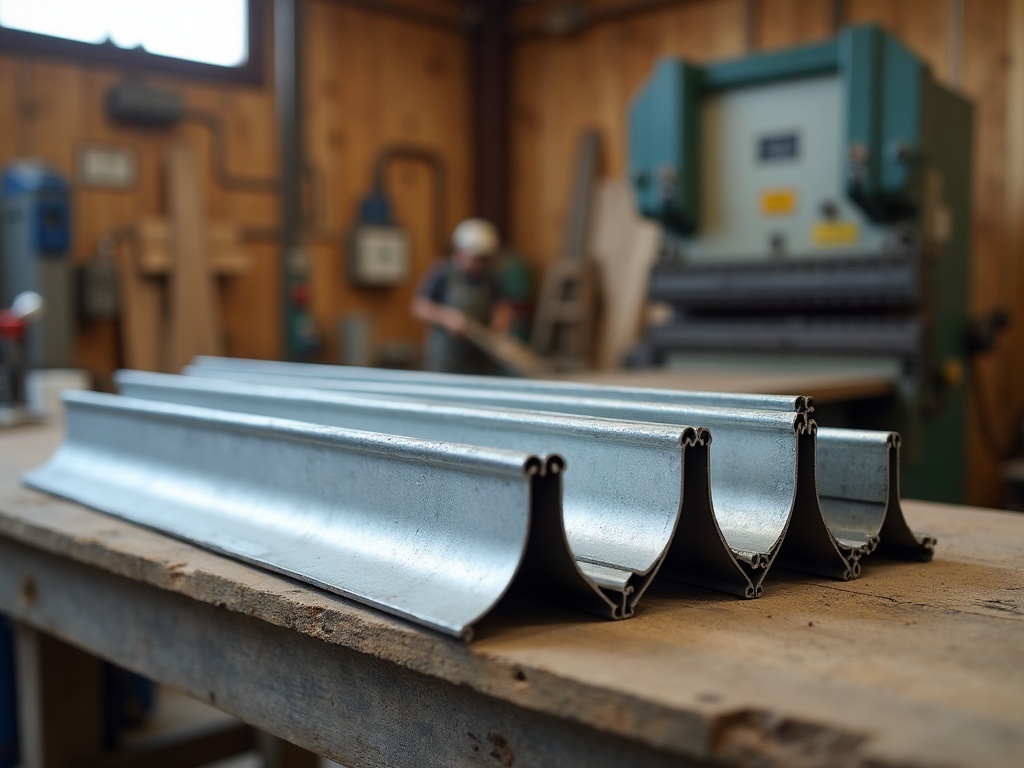
Z-Bar, J-Channel & Transition Trims: Custom Profiles for Siding Contractors
The transition profiles that make a siding job weathertight — and how to spec and order them so they show up right.
Panels get the attention, but the trims are what actually keep a wall dry. Z-bar, J-channel and the family of transition trims are the small formed pieces that handle every place the siding stops, turns a corner, meets a window, or changes material — and they’re also where a job most often leaks, buckles or looks unfinished when the profile is wrong. Off-the-shelf trim is built to a generic reveal and a fixed length; a custom-fabricated profile is built to your panel, your substrate thickness and your run. This guide is written for siding contractors and exterior crews who want their transition trims to fit the first time — and to arrive ready to install.
What each profile actually does
The three workhorses cover most transitions on a wall:
- J-channel: a J-shaped receiver that captures the cut edge of a panel — used around windows and doors, along soffits, and at the top and bottom of a run. The opening has to match your panel thickness so the edge seats without rattling or forcing.
- Z-bar (Z-flashing): a Z-shaped offset that carries water out and over the course below at a horizontal joint — the standard transition between two stacked runs of panel or between siding and a band. The offset leg is what creates the drainage step.
- Transition & reveal trims: the profiles that bridge two different materials or planes — siding to stone, panel to trim board, or one siding type to another — giving a clean, intentional reveal instead of a caulked butt joint.
The detail that decides fit: the panel thickness (and the substrate behind it) sets the throat opening and leg lengths on every one of these. Tell us the panel you’re running and the wall build-up, and we’ll form the profile to receive it — rather than you shimming a generic channel to make it work.
Why custom beats the stock rack
Stock trim is fine until the wall isn’t generic — and walls rarely are. A custom profile lets you match the exact reveal you want, size the throat to your specific panel, add a hem for a safe edge and extra stiffness, and specify a return leg that tucks behind the panel instead of stopping short. It also lets you match finish and color to the panel run so the trim reads as part of the wall, not an afterthought. On material and gauge, the same rules apply as the rest of your metal: our metal gauge guide covers when to step up from 26 to 24, and the aluminum vs. steel guide helps you decide which to spec for the exposure.
How to spec a transition trim so it fits
A trim profile is quotable and fabricatable the moment we can see its cross-section. Send a bend diagram — even a clean hand sketch — with the numbers marked, and you remove almost all of the back-and-forth. For each profile, give us the girth (flat width before bending), each leg length, every bend angle, the throat opening where a panel seats, and the material and finish. A photo of the piece you’re matching, next to a tape measure, works when you’re replicating an existing detail. Our guide to spec’ing custom trim & flashing walks through laying out a bend diagram from scratch.
Lengths, quantities and lead time
Formed trim is typically run in standard stock lengths for shipping and handling, with longer custom lengths available depending on the profile and how it nests — tell us the run lengths you want and we’ll advise what ships cleanly versus what’s better spliced on the wall. Give us your total footage by profile plus a few extra pieces for cuts and mistakes, and if you’re working to a jobsite date, say so up front: lead time depends on profile complexity, finish and quantity, and we’ll be straight with you about whether your date is workable rather than promise it and miss.
Order the whole trim package together
The cleanest way to order is to send every profile a wall needs at once — J-channel, Z-bar and any transition or corner trims — as one package with a drawing per profile. Ordering the set together lets us match gauge, finish and color across all of it so the trims are consistent on the wall, and it lets us catch a conflict (a throat that won’t receive your panel, a leg that fights the corner detail) before anything is formed. One complete submission also prices faster than a trickle of one-off requests.
Quick pre-send checklist
- A cross-section drawing of each profile — J-channel, Z-bar, transition trims.
- Girth, leg lengths and bend angles marked on each drawing.
- Throat opening and the panel thickness it needs to receive.
- Material — steel with gauge, or aluminum with decimal thickness.
- Finish and color, matched to your panel run.
- Footage or piece count per profile, plus run lengths and your need-by date.
Made in Ogden and shipped nationwide, we brake- and roll-form custom J-channel, Z-bar and transition trims to match your panels and your wall — not a generic rack profile. Send the set as one spec package and we’ll price it fast, flag anything that won’t fit, and form it to seat right the first time.
Have a wall’s trim package to price?
Send your profiles, panel and footage — we’ll form J-channel, Z-bar and transition trims to fit.