
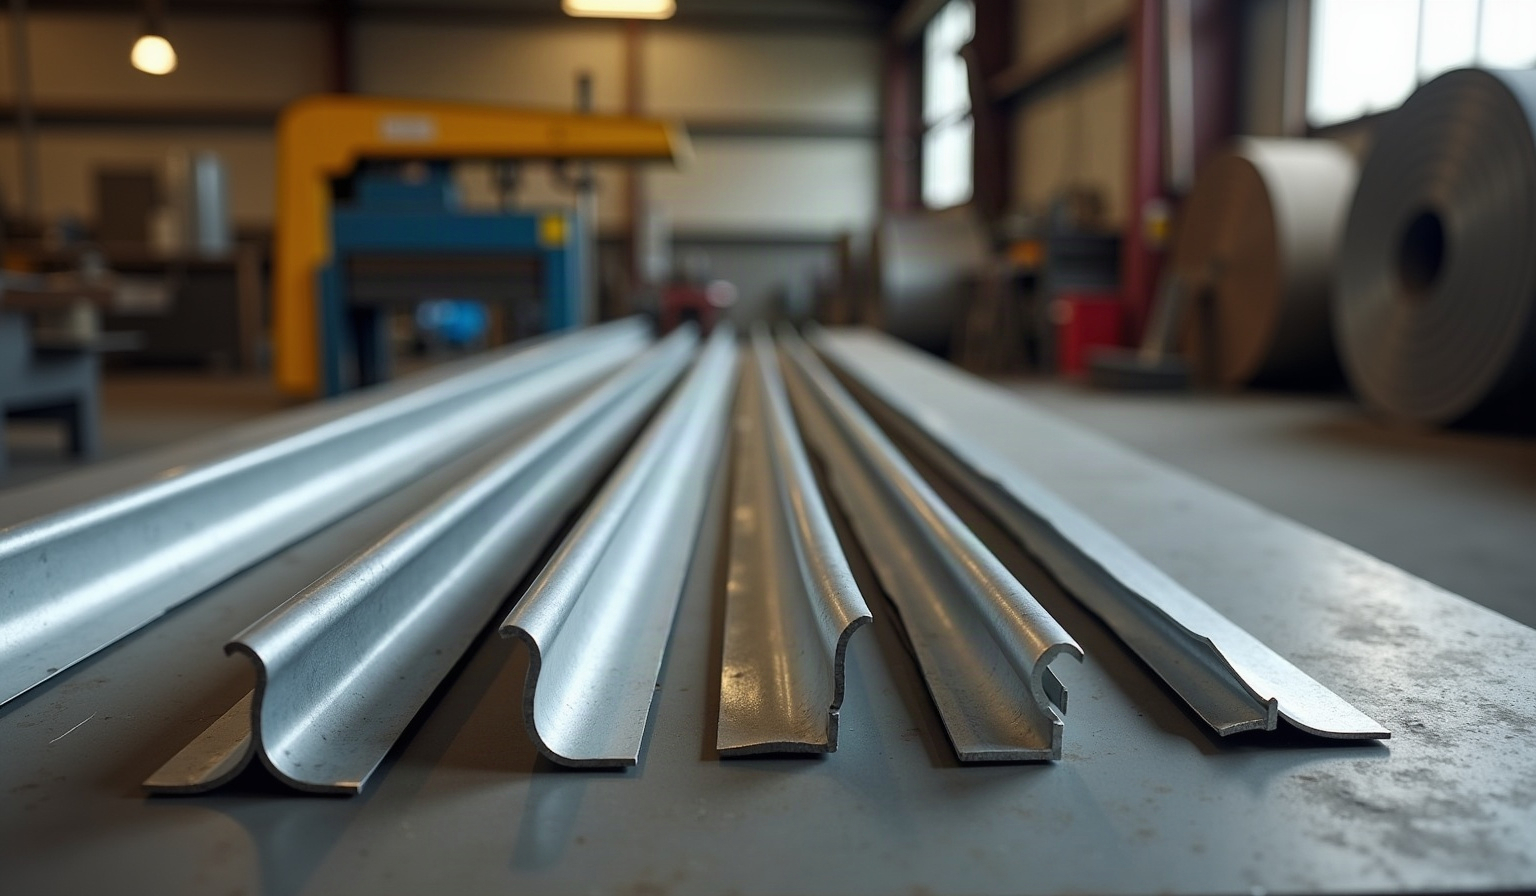
Custom Rake & Gable-Edge Trim: Profiles, Hems & Ordering for Roofing Crews
The metal that finishes the sloped gable edge of a roof — how to spec the profile, hem and pitch so the top leg lies flat on the panel and the face reads as a clean, straight line.
Rake trim — also called gable trim or barge metal — is the piece that finishes the sloped edge of a roof at the gable end, where the roof plane runs down past the gable wall. It caps the cut edge of the roofing, closes the gap between the panel and the fascia or barge board, keeps wind-driven rain and pests out of that edge, and gives the gable a clean, straight line from the ground. It is a different piece from the drip edge that runs along the horizontal eave, and getting the two confused on an order is one of the most common mix-ups we see. This guide is written for roofing crews, GCs and architects who want rake trim fabricated to the actual roof pitch and panel profile rather than bent on a portable brake and fudged to fit.
Rake trim vs. drip edge — two different roof edges
Both are edge metal, but they do different jobs on different edges. Drip edge runs along the eave and any horizontal edge; it kicks water off the fascia and into the gutter. Rake trim runs up the sloped gable edge, parallel to the panel ribs, and finishes the side of the roof where there is no gutter. Because the rake follows the slope, its top leg has to sit at the roof pitch to lie flat on the panel, while its face covers the barge board. If you are ordering both edges for a job, call them out separately with their own lengths and profiles — the eave piece is covered in our custom drip edge & eave flashing guide, and this one handles the rake.
The detail that decides whether it looks right: the pitch of the top leg. A rake profile is essentially an angle, and that angle has to match your roof slope so the leg lays tight on the panel instead of tenting up or pinching. Give us the pitch (for example 4:12 or 9:12) and we form the bend to it — a generic 90° rake bent on site is the reason so many gable edges look wavy from the curb.
The profile: top leg, face leg, hem and cleat
A rake trim is built from a few simple legs. The top leg lays over the edge of the panel at the roof pitch. The face leg drops down and covers the barge board or fascia at the gable, and its depth is set to your fascia dimension so it covers fully without running long. At the bottom of the face we form a hemmed drip — a folded-back lip that stiffens the edge, removes the raw cut, and kicks water clear of the wall below. On concealed-fastener work we add a continuous cleat that hooks the hemmed edge so the trim locks on with no face screws showing. Tell us which legs you need and how deep, and we build the profile in one piece rather than two laps caulked together.
Standing seam, exposed-fastener and shingle gables
How the rake meets the field changes with the roof. On a standing seam roof the rake usually caps over a rake cleat or endwall condition, and the trim has to clear the seam height, so we need the profile and seam height to form a piece that sits flat and still laps the panel. On an exposed-fastener panel roof the rake follows the rib and is fastened and sealed along the face, often with a foam or metal closure where it crosses the ribs. On shingles or shakes the rake is simpler — a top leg over the deck edge and a hemmed face down the barge. Tell us the roof type and panel profile and we fabricate the rake to tie into it instead of sitting proud of it. Where the gauge choice matters, it follows the same logic as our metal gauge guide.
Hems, cleats and concealed fastening
Two small decisions drive how the finished edge looks and holds up. First, the hem: an open or closed hem on the exposed face edge removes the raw metal, adds rigidity so the long face does not oil-can, and gives a cleaner shadow line. Second, how it fastens: face-fastened rake is fast and economical, but the screws show; a concealed cleat hides all fasteners and lets the metal move, which matters on long runs and darker colors. On wide, flat faces we can add a light return or a minor break to keep the face from waving in the sun. Let us know your preference and we form the hem and cleat to match.
The peak: where two rake pieces meet
At the gable peak the two rake runs climb from each eave and meet at the apex, and that joint needs a plan. We can miter and seal the two faces into a clean point, fabricate a small peak cap that laps both pieces, or tie the rake into the ridge detail where the ridge cap turns the corner. The right call depends on the roof type and how exposed the peak is; where the rake meets a ridge, coordinate it with the standing seam ridge cap & trim so the two pieces lap rather than fight. Tell us how the peak is framed and we build the closure to it.
Spec’ing a rake & gable trim order
Rake trim is quotable once we know the edge and the roof. Give us the roof pitch so the top-leg angle is right, the roof type and panel profile (with seam or rib height), and the fascia/barge depth so the face leg covers without running long. Call out the material, gauge and finish — the substrate choice follows the aluminum vs. steel guide — and whether you want a hemmed drip, a concealed cleat or face fastening, plus how the peak is handled. A dimensioned sketch of the edge gets us most of the way; turning that into a clean fabrication drawing is exactly what our guide to spec’ing custom trim & flashing walks through.
Material, finish and matching the rest of the metal
The rake is one of the most visible lines on the building, running the full slope of the gable, so the material and color matter. Aluminum is light and will not rust; galvanized or coated steel is economical and stiff; copper and stainless suit higher-end work. Match the finish and color to your panels, ridge and fascia so the gable edge reads as part of the roof, not a strip added after the fact. Tell us what the rest of the metal is and we match the coil so the rake, ridge and eave all carry the same color and sheen.
Lead time, lengths and getting it to the jobsite
Rake trim ships in long lengths, and how it is cut and bundled affects the install as much as the fabrication does. What moves lead time is the number of distinct profiles and pitches, the finish, and whether cleats and peak caps are involved. We fabricate to your lengths with factory-hemmed ends, mark the pieces by run and gable, and box them in order so your crew installs off a labeled bundle instead of sorting look-alike sticks on the roof. Long pieces are packaged to arrive straight, because a rake that ships bowed never looks right once it is up. Made in Ogden and shipped nationwide, rake and gable trim leaves the shop protected so the hems, bends and finish arrive true.
Quick pre-send checklist
- Roof pitch — so the top-leg angle lies flat on the panel (e.g. 4:12, 9:12).
- Roof type & panel profile — standing seam (with seam height), exposed-fastener, or shingle/shake.
- Face depth — fascia/barge board dimension the face leg has to cover.
- Hem & fastening — hemmed drip, concealed cleat or face-fastened.
- Peak detail — mitered, peak cap, or tied into the ridge.
- Material (steel with gauge, aluminum, copper or stainless), finish/color to match your roof, lengths and quantities, plus need-by date.
Made in Ogden and shipped nationwide, we fabricate custom rake and gable-edge trim — top leg, face, hemmed drip and cleat — formed to your roof pitch, panel profile and fascia depth, in the substrate, gauge and finish that match the rest of your metal. Send your pitch, roof type and face depth, and we’ll price it fast, flag anything that will not lie flat, and build an edge that runs straight the first time.
Finishing a gable edge?
Send your roof pitch, panel profile and fascia depth — we’ll fabricate rake trim with the top leg, face, hem and cleat formed to lie flat and run straight.