
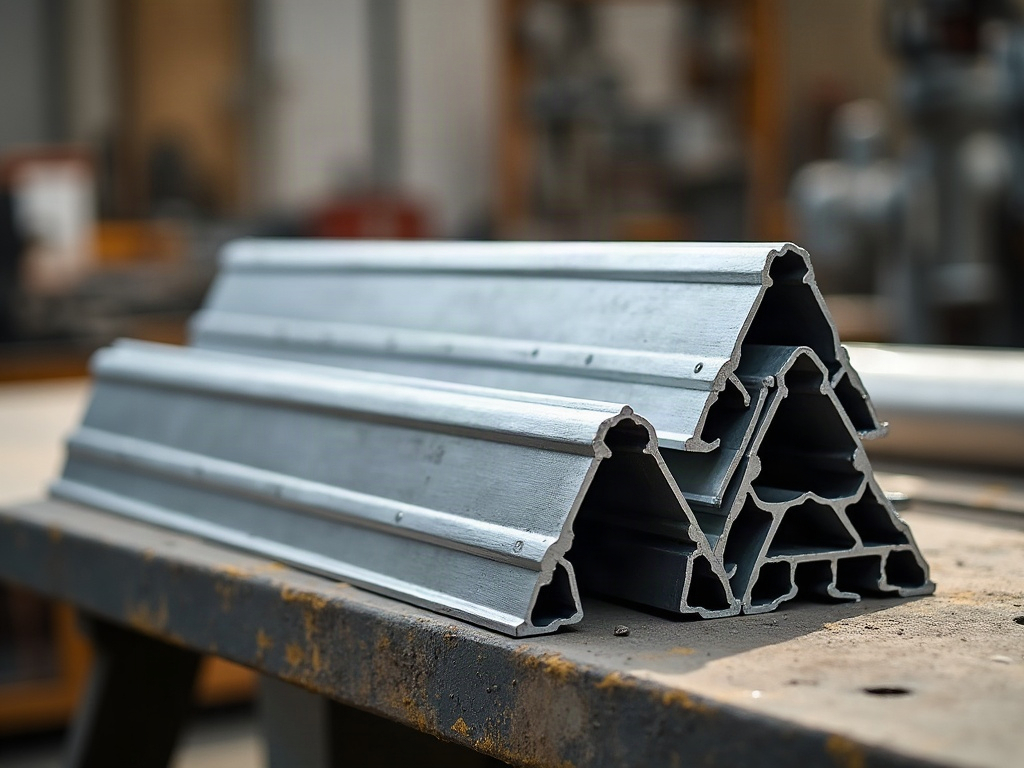
Parapet Coping Caps & Cleats: Custom Fabrication for Commercial Roofing
The cap that protects the top of every parapet wall — and how to spec and order it so it drains, locks down, and lasts.
Coping is the metal cap that sits on top of a parapet wall, and it does more work than most people give it credit for. It sheds water off the most exposed edge of a low-slope roof, protects the wall assembly underneath from saturation, and—because it lives on a windward corner—it’s one of the first things a storm tries to peel off. This guide is written for commercial roofers, GCs and building envelope crews who want coping fabricated to fit the wall it caps rather than cut down from a stock length on the roof. Get the width, the slope and the anchoring right up front and coping installs fast and stays put; get them wrong and you’re chasing leaks and wind uplift at the parapet for the life of the roof.
What coping does, and why the cleat matters
A coping system is two parts working together: the coping cap that covers the top of the wall and turns down both faces, and the continuous cleat (a formed metal strip fastened to the wall) that the cap’s hemmed edges lock onto. The cleat is what lets you fasten coping without driving exposed screws through the top face — the cap snaps or hooks over the cleat, so the fasteners are hidden and the water-shedding surface stays unbroken. On the exterior face especially, a continuous cleat is what keeps wind from getting under the edge and lifting the cap. Skip it, or under-size it, and the cap becomes a sail.
The detail that decides performance: coping should be formed with a slope to the roof side so water drains inward toward the membrane rather than staining the exterior wall — and both turndowns need a hemmed drip edge so runoff is thrown clear. Send us the wall width, the height you want on each face, and which side drains, and the cap comes back ready to lock down.
Why custom-fabricated coping beats stock stretch-out
Parapet walls are rarely the width the catalog assumes, and they change width at pilasters, expansion joints and where the wall steps. Stock coping forces you to shim, notch and improvise on the roof. Custom fabrication lets you form the cap to your exact wall width, set the face heights and the drainage slope you want, choose the substrate and gauge for the exposure, and get matching corners, end caps and splice/joint pieces made as part of the same run so the whole parapet reads as one clean line. On material and gauge the same logic applies as the rest of the metal package — our metal gauge guide covers where to step up for a wind-exposed cap, and the aluminum vs. steel guide helps you pick the substrate for the environment.
How to spec a coping run
Coping is quotable once we know the wall and how the cap meets it. Give us the finished wall width (measured on the actual wall, not the plan), the face height you want on the exterior and interior sides, and which side you want the cap to slope toward for drainage. Tell us the total linear footage, the number and type of corners (outside vs. inside) and any transitions where the wall changes width or steps in height. Note the substrate, gauge and finish, and whether you want a concealed-splice joint or a standing-seam-style joint between lengths. If you’re matching existing metalwork on the building, a photo with a tape measure across the wall gets us most of the way there. Turning that field measurement into a clean fabrication drawing is exactly what our guide to spec’ing custom trim & flashing walks through.
Corners, joints and expansion — the details that leak
The straight runs are the easy part; parapet coping fails at the corners and the joints. Outside and inside corners should be fabricated as formed pieces that match the profile exactly rather than cut and caulked on site. Between lengths, a backer plate or concealed splice under the joint keeps water out while allowing the metal to move, and on long runs you need to plan for thermal expansion so the coping isn’t pinned rigidly end to end. Call out your corner count and joint preference when you send the run, and we’ll fabricate the corners, end caps and splice pieces to match so your crew isn’t field-cutting the hardest details in the wind.
Lead time, quantities and getting it to the jobsite
Lead time depends on the total linear footage, the number of formed corners and transitions, and the finish. A long straight run in a stock color moves faster than a run with many corners in a custom Kynar color, so tell us the footage, the corner and joint count, the finish, and your need-by date up front — we’ll tell you straight whether that date is workable rather than promise it and miss. Coping ships in manageable lengths with the cleat, corners and closures batched by elevation so your crew can stage it wall by wall instead of sorting a pile on the roof.
Quick pre-send checklist
- Wall width — measured on the actual wall, top to both faces.
- Face heights — exterior and interior, and which side drains.
- Total linear footage, plus the count of outside and inside corners.
- Transitions — where the wall changes width or steps in height.
- Cleat — continuous cleat included, and joint/splice preference.
- Material (steel with gauge, or aluminum with thickness), finish/color, and need-by date.
Made in Ogden and shipped nationwide, we fabricate custom parapet coping caps, continuous cleats, corners and closures to fit the wall they cap — sloped to drain, hemmed to shed, and formed to lock down against uplift. Send your wall widths, face heights and corner count, and we’ll price it fast, flag anything that won’t drain or seat right, and build a coping run that installs clean the first time.
Have a parapet run to price?
Send your wall widths, face heights and corner count — we’ll fabricate coping that drains, locks down and lasts.