
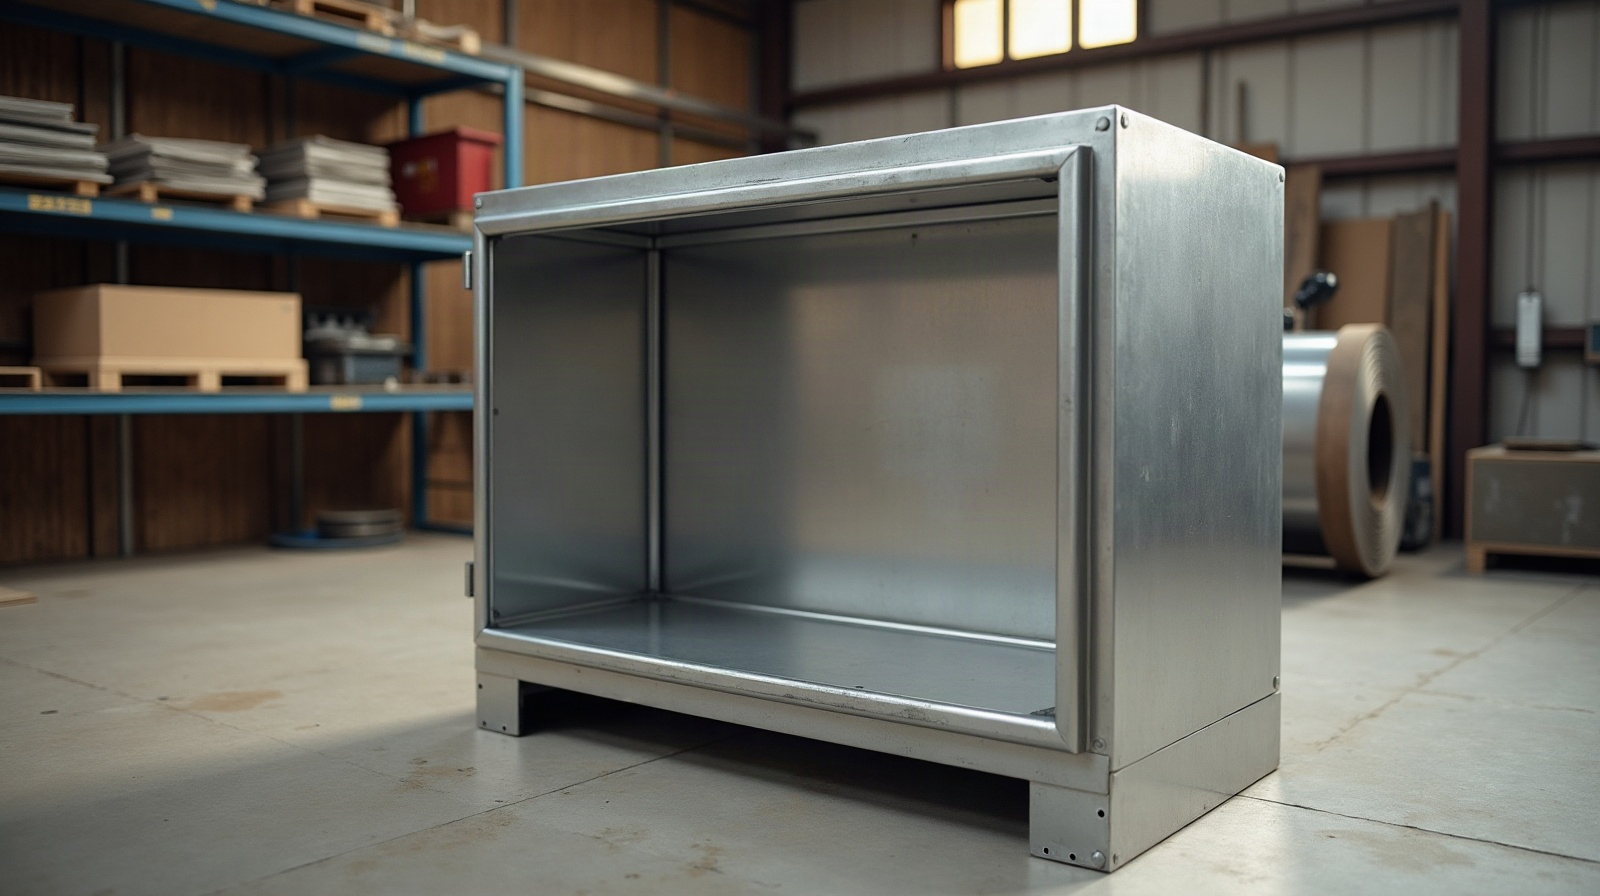
Custom RTU & Equipment Curbs & Curb Adapters: Fabrication for Roofing Crews
The raised metal frames that mount HVAC units, fans and other rooftop equipment — how to spec a level, insulated curb (or an adapter for a unit change-out) so the equipment sits solid and the roof stays dry.
An equipment curb — also called a roof curb or, when it carries a packaged air handler, an RTU curb (rooftop unit) — is the raised metal frame that lifts HVAC units, exhaust and supply fans, condensers, skylights’ structural openings and other rooftop gear up off the roof membrane and gives it a solid, watertight base to sit on. Done right, the curb raises the equipment well above the finished roof, is built dead level even on a sloped deck, and is flashed so water never finds the penetration. This guide is written for roofing crews, mechanical contractors, GCs and sheet-metal shops who want the curb fabricated to the actual unit footprint and roof slope rather than shimmed and pieced together on the roof. It is the structural curb itself — for the counterflashing and membrane tie-in around a curb or roof opening, see our skylight & roof-curb flashing guide.
Curb vs. curb adapter — which one the job needs
Two different parts get called the same thing. A new equipment curb is a full raised frame for a new opening or a new unit — the box the equipment lands on. A curb adapter (or transition curb) is a stepped frame that sits on top of an existing curb during a rooftop-unit change-out, when the new unit’s duct and mounting footprint do not match the old one. The adapter bridges the old curb’s opening and bolt pattern to the new unit’s, so the crew can set a replacement RTU without tearing out the original curb and reworking the roof around it. If you are replacing a packaged unit, tell us the old curb’s outside dimensions and duct openings and the new unit’s footprint and supply/return openings, and we fabricate the adapter to marry the two.
The detail that keeps the roof dry — curb height: the curb has to raise the equipment and its flashing termination well above the finished roof and any standing water or snow. Industry practice (NRCA, SMACNA) is to keep the top of the counterflashing a healthy margin above the membrane — commonly on the order of eight inches above the finished roof — so water and ice never reach the penetration. Give us the roof assembly thickness and the insulation/tapered build-up, and we set the curb height so the equipment clears the finished surface with margin to spare, not just the bare deck.
The anatomy: deck flange, insulated walls, wood nailer and cap
A roof curb is a few elements working as one. The base / deck flange is the horizontal foot that fastens to the structural deck and that the roofing membrane or built-up plies tie into, so the curb is part of the waterproofing, not just set on top of it. The curb walls are the vertical box that carries the load and sets the height; on conditioned equipment they are commonly insulated to cut heat loss and stop condensation. A continuous wood nailer is set into the top so the unit’s own gasket and fasteners have something to bite. On a flashed curb an integral cap or counterflashing turns down over the field flashing to shed water. Tell us which of these you want fabricated in — deck flange, insulation, nailer, integral cap — and we form them as one assembly.
Pitched and sloped-roof curbs: level on a slope
Most rooftop equipment has to sit dead level even when the roof is pitched — condensate drains, bearings and burners all depend on it. A pitched (sloped) curb solves this by tapering the frame so the base follows the roof slope while the top plane comes out level for the unit. Guessing the slope and shimming on the roof is slow and leaks; fabricating the taper into the curb is clean and watertight. Give us the roof slope (in degrees or rise-per-foot) and the direction of slope relative to the unit, and we build the curb so the deck flange lies flat on the pitch and the equipment lands level.
Vibration, sound and special conditions
Some units need more than a plain box. Vibration-isolation curbs build a spring or neoprene isolation rail into the curb so fan and compressor vibration is not transmitted into the structure — worth specifying over occupied spaces. Extra-tall or stacked curbs raise equipment above deep snow or tapered insulation. Where a curb also needs to pass duct, pipe or conduit through its wall, those openings are fabricated and flashed in the shop rather than cut on the roof. Tell us the unit type and whether isolation, extra height or wall penetrations are in play and we fabricate the curb to suit, instead of adapting a stock box that almost fits.
Material, gauge, insulation and finish
Match the curb to the load and the exposure. Galvanized or galvalume steel is the workhorse for structural curbs because it is stiff and economical; aluminum is lighter and will not rust on coastal or high-humidity work — the substrate trade-offs are laid out in our aluminum vs. steel guide. Heavier equipment and taller walls call for a stiffer gauge, following the same logic as our metal gauge guide. Insulated curbs add a rigid or batt liner inside the walls. Where the curb or its cap is visible, a factory Kynar/PVDF finish keeps it matching the building’s other metal. Tell us the equipment weight, the wall height, whether it needs insulation, and the finish, and we spec the material and gauge to carry it.
Sizing and how to order
A curb is quotable from a short list of numbers: the outside (or inside) plan dimensions, the overall height above the deck, the roof slope and its direction, and whether it is a new curb or an adapter over an existing one. For an adapter, we need both the existing curb and the new unit footprints and their duct openings. Call out the material, gauge and finish, whether you want it insulated, whether a wood nailer and integral cap are fabricated in, and any wall penetrations or isolation rails. A dimensioned plan and a section through the curb get us most of the way — turning that into a clean fabrication drawing is exactly what our guide to spec’ing custom trim & flashing walks through.
Lead time, handling and getting it to the jobsite
Curbs are bulky, welded assemblies, so size, insulation and the number of special features drive the lead time more than a straight trim run does. We form and weld the box to your plan dimensions and slope, set the wood nailer, build in insulation and any wall openings or isolation rails, fabricate the integral cap where it is called for, and mark each curb to its location and orientation so the crew sets it the right way on the roof. Made in Ogden and shipped nationwide, a custom equipment curb or adapter leaves the shop square, level-topped and ready to flash in — so the crane sets the curb once and the unit lands where it should.
Quick pre-send checklist
- Plan dimensions — outside (or inside) length and width, and the duct openings.
- Overall height — above the structural deck, accounting for insulation / tapered build-up.
- Roof slope & direction — so the curb is built to land the equipment level.
- New curb or adapter — for an adapter, both the existing curb and the new unit footprints.
- Insulation, wood nailer, integral cap — which you want fabricated in.
- Material (galvanized/galvalume steel with gauge, or aluminum), finish, isolation rails or wall penetrations, and need-by date.
Made in Ogden and shipped nationwide, we fabricate custom RTU and equipment curbs and curb adapters — deck flange, insulated walls, wood nailer and integral cap — built to your unit footprint and roof slope so the equipment sits solid, lands level, and the roof stays dry. Send the plan dimensions, the height, the roof slope and whether it is a new curb or a change-out adapter, and we’ll price it fast and build a curb your crew can set and flash in one trip.
Setting or changing out a rooftop unit?
Send the plan dimensions, height and roof slope — or both footprints for a change-out — and we’ll fabricate a level, flashed equipment curb or adapter ready to set.