
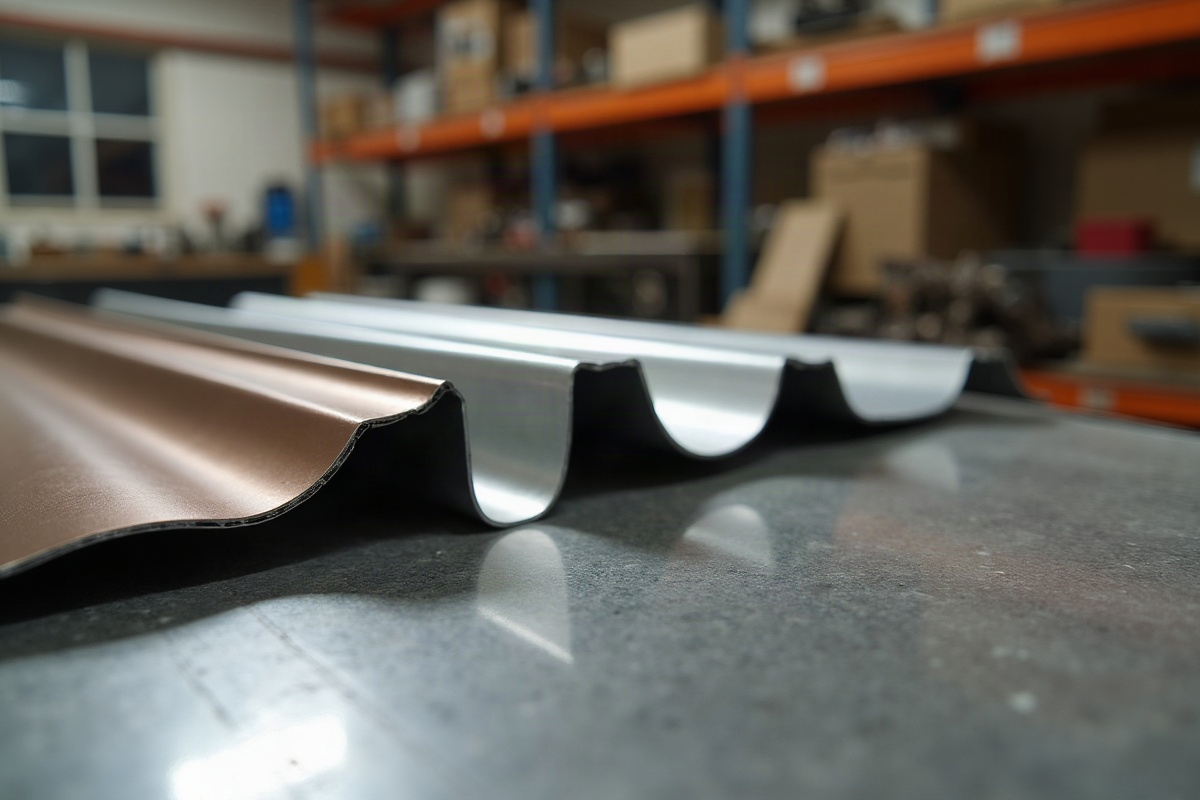
Roof-to-Wall Counterflashing: Custom Profiles & Reglet Detail for Roofing Crews
The cap piece that covers the base flashing at a wall — how to spec two-piece, surface-mount and reglet-set counterflashing so the termination stays watertight for the life of the roof.
Wherever a roof dies into a wall — a chimney, a parapet, a sidewall or headwall — the waterproofing is done in two layers. The base flashing (step or apron) is tied to the roof and turns up the wall; the counterflashing, or cap flashing, comes down over the top of it from the wall side so water sheds from one to the other without ever finding an open seam. The two overlap but are not fastened to each other, which lets the roof and the wall move independently. Get the counterflashing profile and its attachment to the wall right and the termination is quietly bulletproof; get it wrong and you have a leak that hides behind masonry for years. This guide is written for roofing crews, masons and GCs who want counterflashing fabricated to the actual wall condition rather than cut and bent out of a stock coil on the deck.
What counterflashing does — and why it’s the second line of defense
Base flashing carries water down the roof-to-wall line and up onto the wall a few inches. But the top edge of that base flashing is an open, upturned lip — left exposed, it collects water and lets it run behind. Counterflashing solves that: it is fixed to or into the wall above the base flashing and laps down over that top edge, so any water on the wall face is shed out onto the base flashing and away. Because it overlaps rather than seals to the base piece, the roofer can later tear off and re-flash the roof without disturbing the wall — the counterflashing stays put and the new base flashing simply tucks back up under it. That separation is the whole point, and it is why counterflashing is fabricated as its own profile rather than field-bent as an afterthought.
The detail that decides whether it works: how the counterflashing attaches to the wall and how far it laps over the base flashing. A return leg let into a clean saw-cut reglet and locked in place sheds water for decades; a piece surface-nailed to the face and caulked at the top is only as good as the sealant bead. Tell us the wall type and how the base flashing terminates, and we’ll form a counterflashing that laps the right amount and locks where it should.
Reglet-set vs. surface-mount vs. two-piece counterflashing
There are three common ways to terminate counterflashing at the wall, and the wall usually decides which one you use. Reglet-set (let-in) counterflashing has a return leg that tucks into a saw-cut groove — a reglet — in masonry or concrete, held with a spring clip or lead wedge and sealed at the cut; it is the cleanest, longest-lived detail on a masonry wall. Surface-mount counterflashing uses a manufactured receiver or termination bar fastened to the wall face and sealed along the top, for walls you can’t or shouldn’t cut. Two-piece counterflashing splits the job into a receiver that mounts to the wall and a removable cover that snaps or laps into it — so the roof can be re-flashed later without touching the wall attachment at all. We fabricate all three; the gauge you spec follows the same logic as our metal gauge guide, and the substrate choice follows the aluminum vs. steel guide.
Matching the counterflashing to the wall
Counterflashing lives against brick, block, stone, stucco or siding, and each wants a slightly different profile. On masonry, a reglet cut into a mortar joint gives the cleanest let-in; on poured concrete, the reglet is cut into the face. On stucco, the counterflashing is usually integrated behind the lath and weather barrier so the finish laps over the return. On lap or panel siding, the counterflashing runs up behind the cladding and the wall covers it. Chimneys and parapets add corners and steps, so the pieces have to be handed and often stepped to follow the courses — the same discipline we bring to parapet coping caps. Tell us the wall type and whether the base flashing is stepped or continuous, and we’ll form counterflashing that fits the assembly instead of fighting it.
How to spec counterflashing for fabrication
Counterflashing is quotable once we know how it meets the wall and how far it has to lap. Give us the wall type (brick, block, concrete, stucco, siding) and the termination method you want — reglet-set, surface-mount receiver, or two-piece. Tell us the face length (how far it drops over the base flashing), the return leg depth for the reglet or receiver, and any hem on the exposed edge to stiffen it and kill the raw edge. Note whether the run is continuous, stepped, or has corners, and the hand where it matters. Add the substrate, gauge and finish to match the rest of your metal. A photo of the condition with a couple of measurements and a note on the wall type gets us most of the way — turning that into a clean fabrication drawing is exactly what our guide to spec’ing custom trim & flashing walks through.
Lead time, quantities and getting it to the jobsite
Counterflashing runs long and repetitive on parapets and short and handed on chimneys, and both drive the schedule differently. The things that move lead time are the total footage, the number of distinct profiles and hands, whether pieces are stepped, and the finish. A continuous run of one profile in a stock color moves fast; a set of stepped chimney pieces with soldered corners in copper takes longer, so give us the quantities of each up front and we’ll quote a straight date rather than promise one and miss. We label pieces by location and hand and box them in order so your crew installs off a marked bundle instead of sorting look-alike parts on staging. Made in Ogden and shipped nationwide, counterflashing ships flat and protected so the profiles and hems arrive true.
Quick pre-send checklist
- Wall type — brick, block, concrete, stucco, or siding.
- Termination method — reglet-set (let-in), surface-mount receiver, or two-piece.
- Face length over the base flashing and return leg depth for the reglet/receiver.
- Run type — continuous, stepped, or with corners; note the hand where it matters.
- Edge — hemmed or open; and corner treatment (soldered, sealed, seamed).
- Material (steel with gauge, aluminum, or copper) and finish/color to match your flashing, plus need-by date.
Made in Ogden and shipped nationwide, we fabricate custom roof-to-wall counterflashing — reglet-set, surface-mount and two-piece — formed to your wall condition, lap and return, in the substrate, gauge and finish that match the rest of your metal. Send your wall type, termination method and footage, and we’ll price it fast, flag anything that won’t lap or lock cleanly, and build pieces that keep the wall termination dry the first time. It pairs naturally with the base-flashing side of the same detail — see our kickout & diverter flashing guide.
Wall terminations to flash?
Send your wall type, termination method and footage — we’ll fabricate counterflashing that laps and locks watertight.